Fine-Tuning for Rerank
Fine-Tuning for Rerank
We’ll use Cohere’s Dashboard for the code examples. Follow along in this notebook.
Cohere’s Rerank endpoint is a sophisticated semantic relevance scoring and ranking system that optimizes search results by evaluating the contextual relationship between queries and passages.
However, complex domains are special challenge due to their intricate terminology, context, and domain-specific knowledge requirements. These domains include legal documents, medical research papers, scientific literature, technical manuals, developer documentation, code, financial reports, and other fields that demand a deep understanding of specific jargon and intricate concepts. These domains often necessitate fine-tuning on custom data to ensure the models capture the nuances and expertise essential for accurate comprehension.
To understand the importance of domain-specific training, we will work with a code example utilizing a dataset in the legal domain. You’ll see how fine-tuning can dramatically increase model accuracy.
Step-by-Step Guide
Setup
We’ll start by importing the tools we’ll need.
Next, we’ll instantiate a Cohere client.
Step 1: Prepare the Dataset
We’ll work with the CaseHOLD dataset from Hugging Face. CaseHOLD is a multiple choice Q&A task consisting of legal decisions referencing other decisions as precedents, called a holding statement. It’s a challenging task that demands specialized legal expertise to solve. The following image shows an example data point.

We’ll work with an IterableDataset and load only a small fraction of examples at a time to avoid loading the entire dataset in memory.
For this example, we’ll use a subset of only 420 data points, to be split across training, validation and test sets.
The data is stored in a Pandas DataFrame df with 5 columns:
"query"- The search query or question (in the image above, this corresponds to the “citing text” or “prompt”)"docs"- A list of five documents, where only one correctly answers the query (in the image above, all five “holding statements”)"label"- The index of the document that correctly answers the query (in the example in the image above, would be “0”, corresponding to holding statement 0)"relevant_passages"- The document that correctly answers the query"hard_negatives"- The four documents that don’t correctly answer the query
We next split the data into training (in df_train), validation (in df_valid), and test (in df_test) sets.
Step 2: Assess the Pre-Trained Model
We’ll now check the test accuracy of the pre-trained model. The get_prediction() function looks at a test example and uses the pre-trained model to predict the index of the document that it believes correctly answers the query.
To get predictions, we’ll use the rerank() method of the Cohere client and supply four arguments:
model- We will usererank-english-v3.0, Cohere’s newest and most powerful pre-trained model for re-ranking English language documentsquery- The search query or questiondocuments- List of documents to choose fromtop_n- Number of documents to return
We apply this function to every row in the test set and save the predictions in new column "baseline_prediction". Then, to calculate the test accuracy, we compare the predictions to the ground truth labels in the "label" column.
The pre-trained model gets 60% accuracy, which isn’t bad! But we can do better with fine-tuning.
Step 3: Fine-Tune the Model
To prepare for fine-tuning with the Rerank endpoint, we’ll need to convert the data to jsonl format, where each row is an example with three items:
"query"- The search query or question"relevant_passages"- The document that correctly answers the query"hard_negatives"- The four documents that incorrectly answer the query
We do this separately for training and validation data. You can learn more about preparing the Rerank fine-tuning data in the documentation.
The first couple lines of the training jsonl file looks as follows.
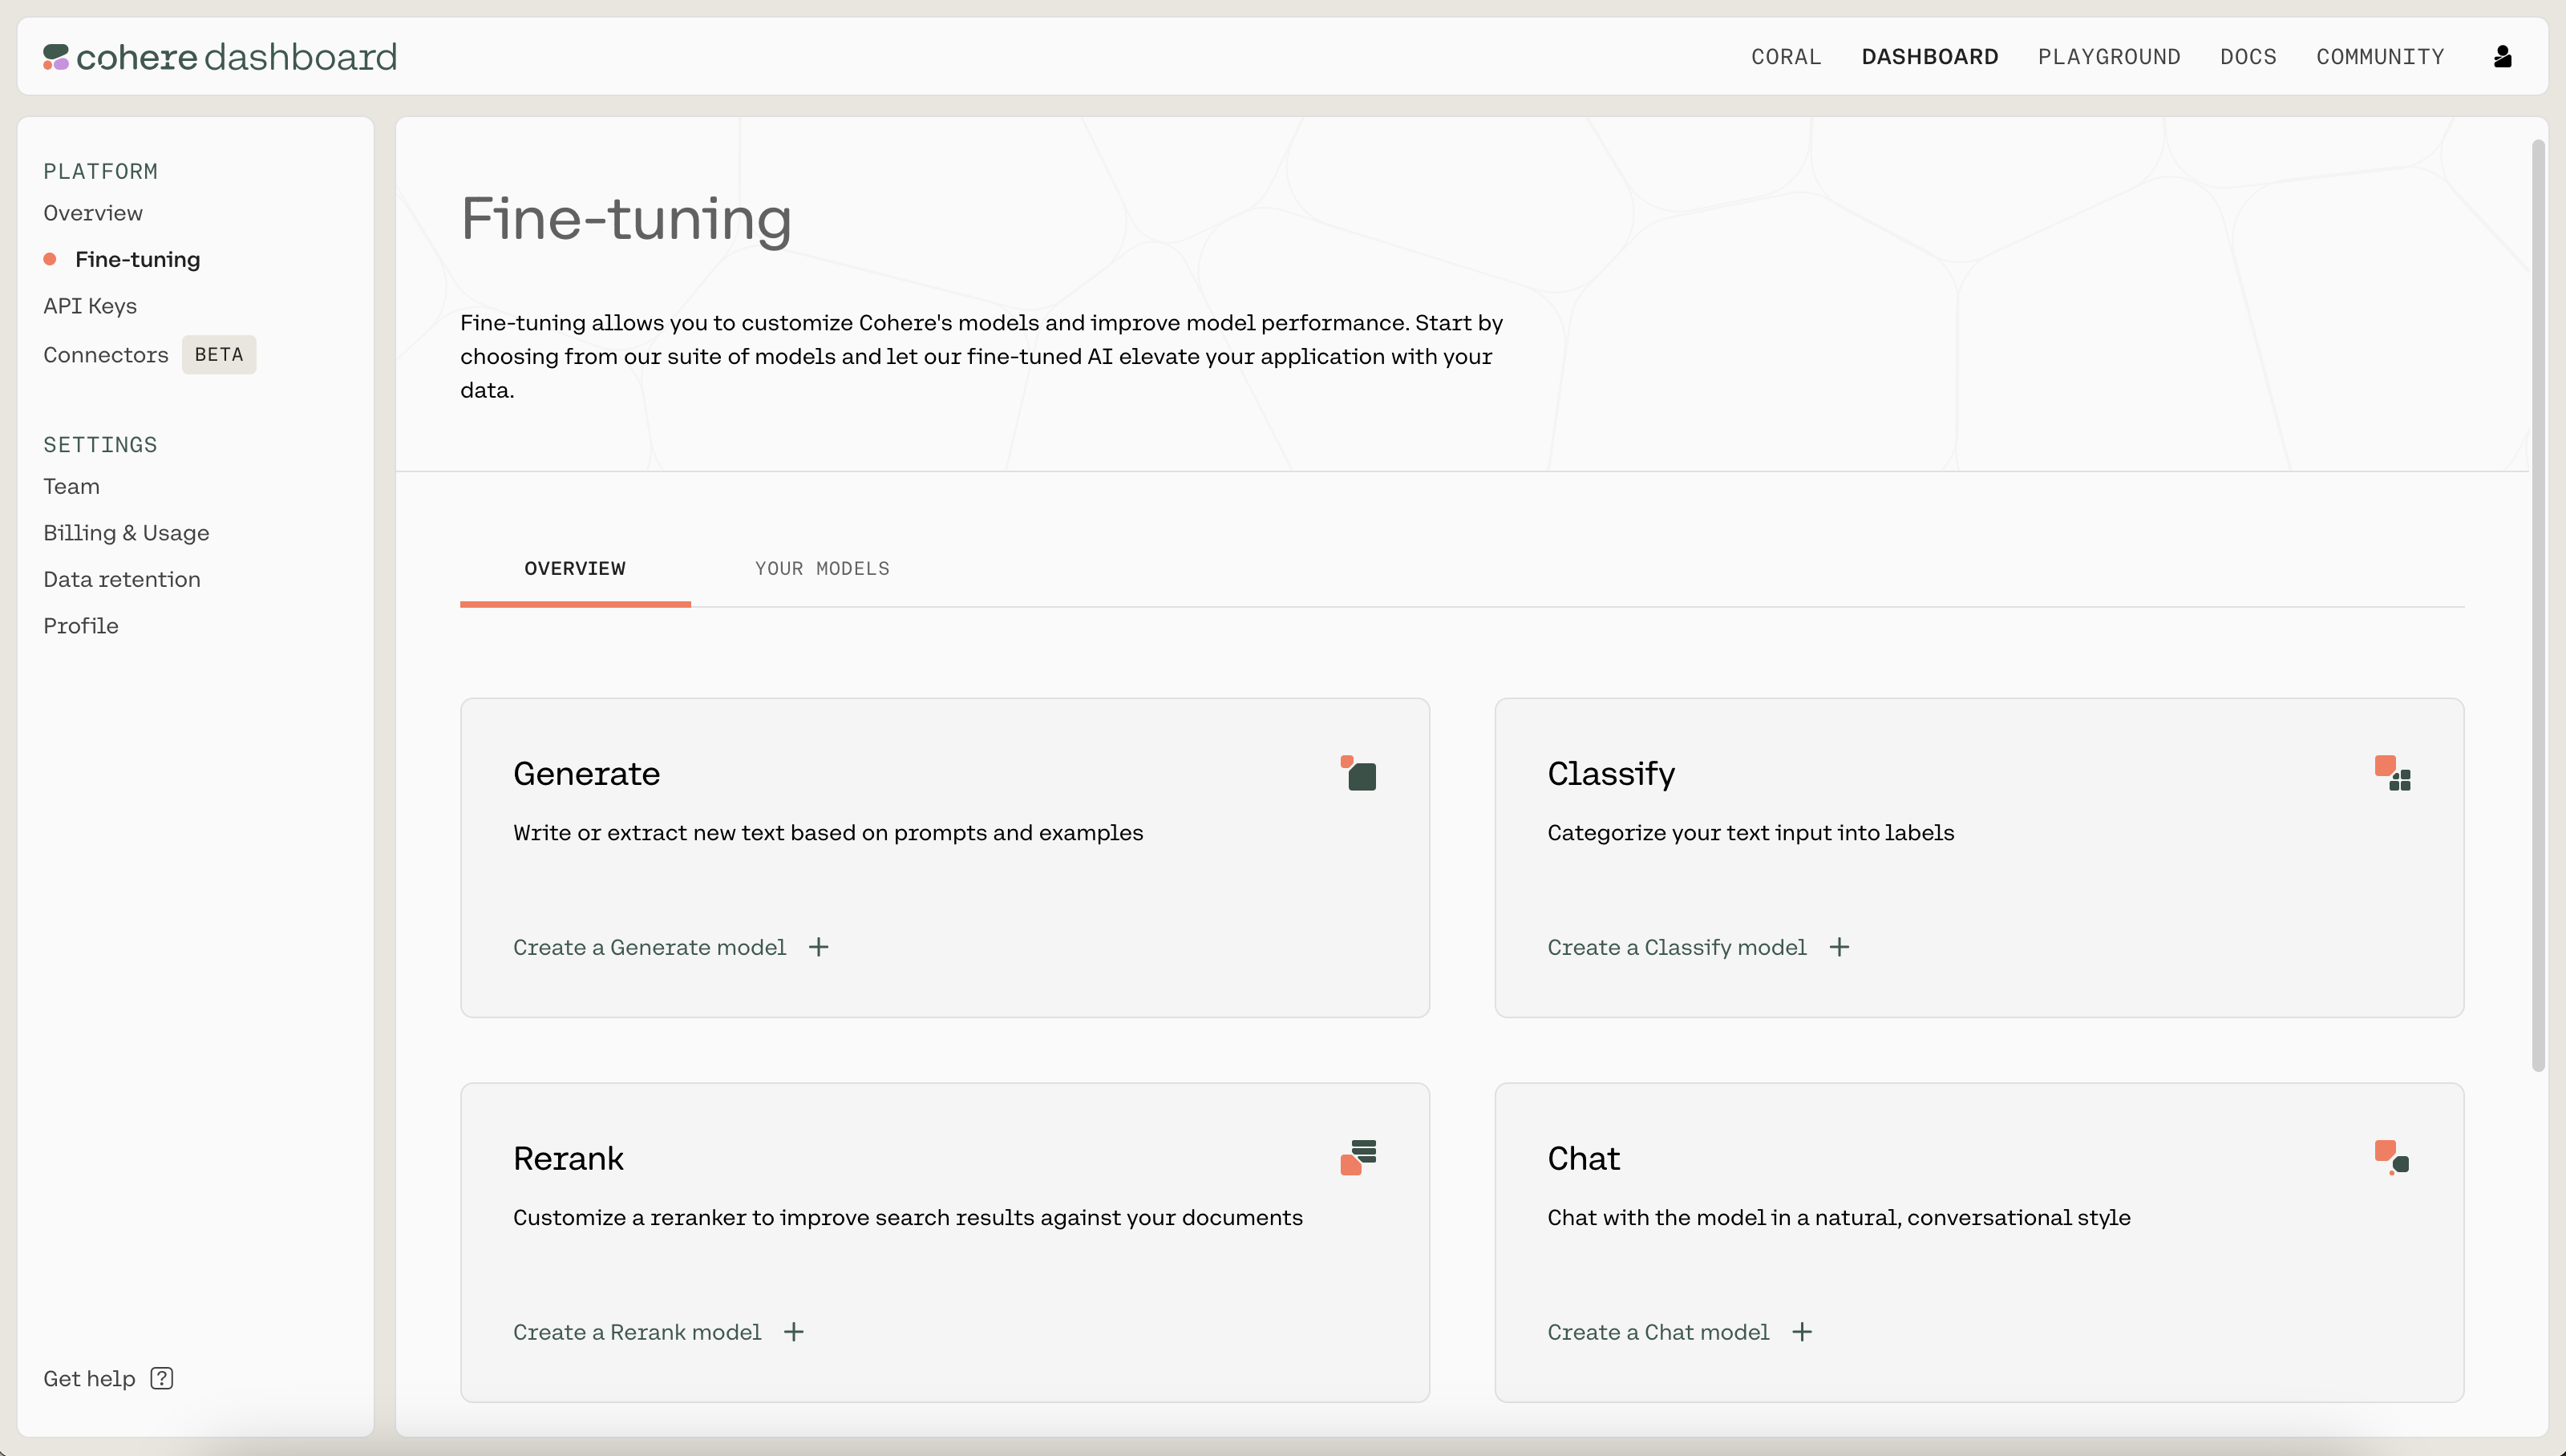
We kick off a fine-tuning job by navigating to the fine-tuning tab of the Dashboard. Under “Rerank”, click on “Create a Rerank model”.
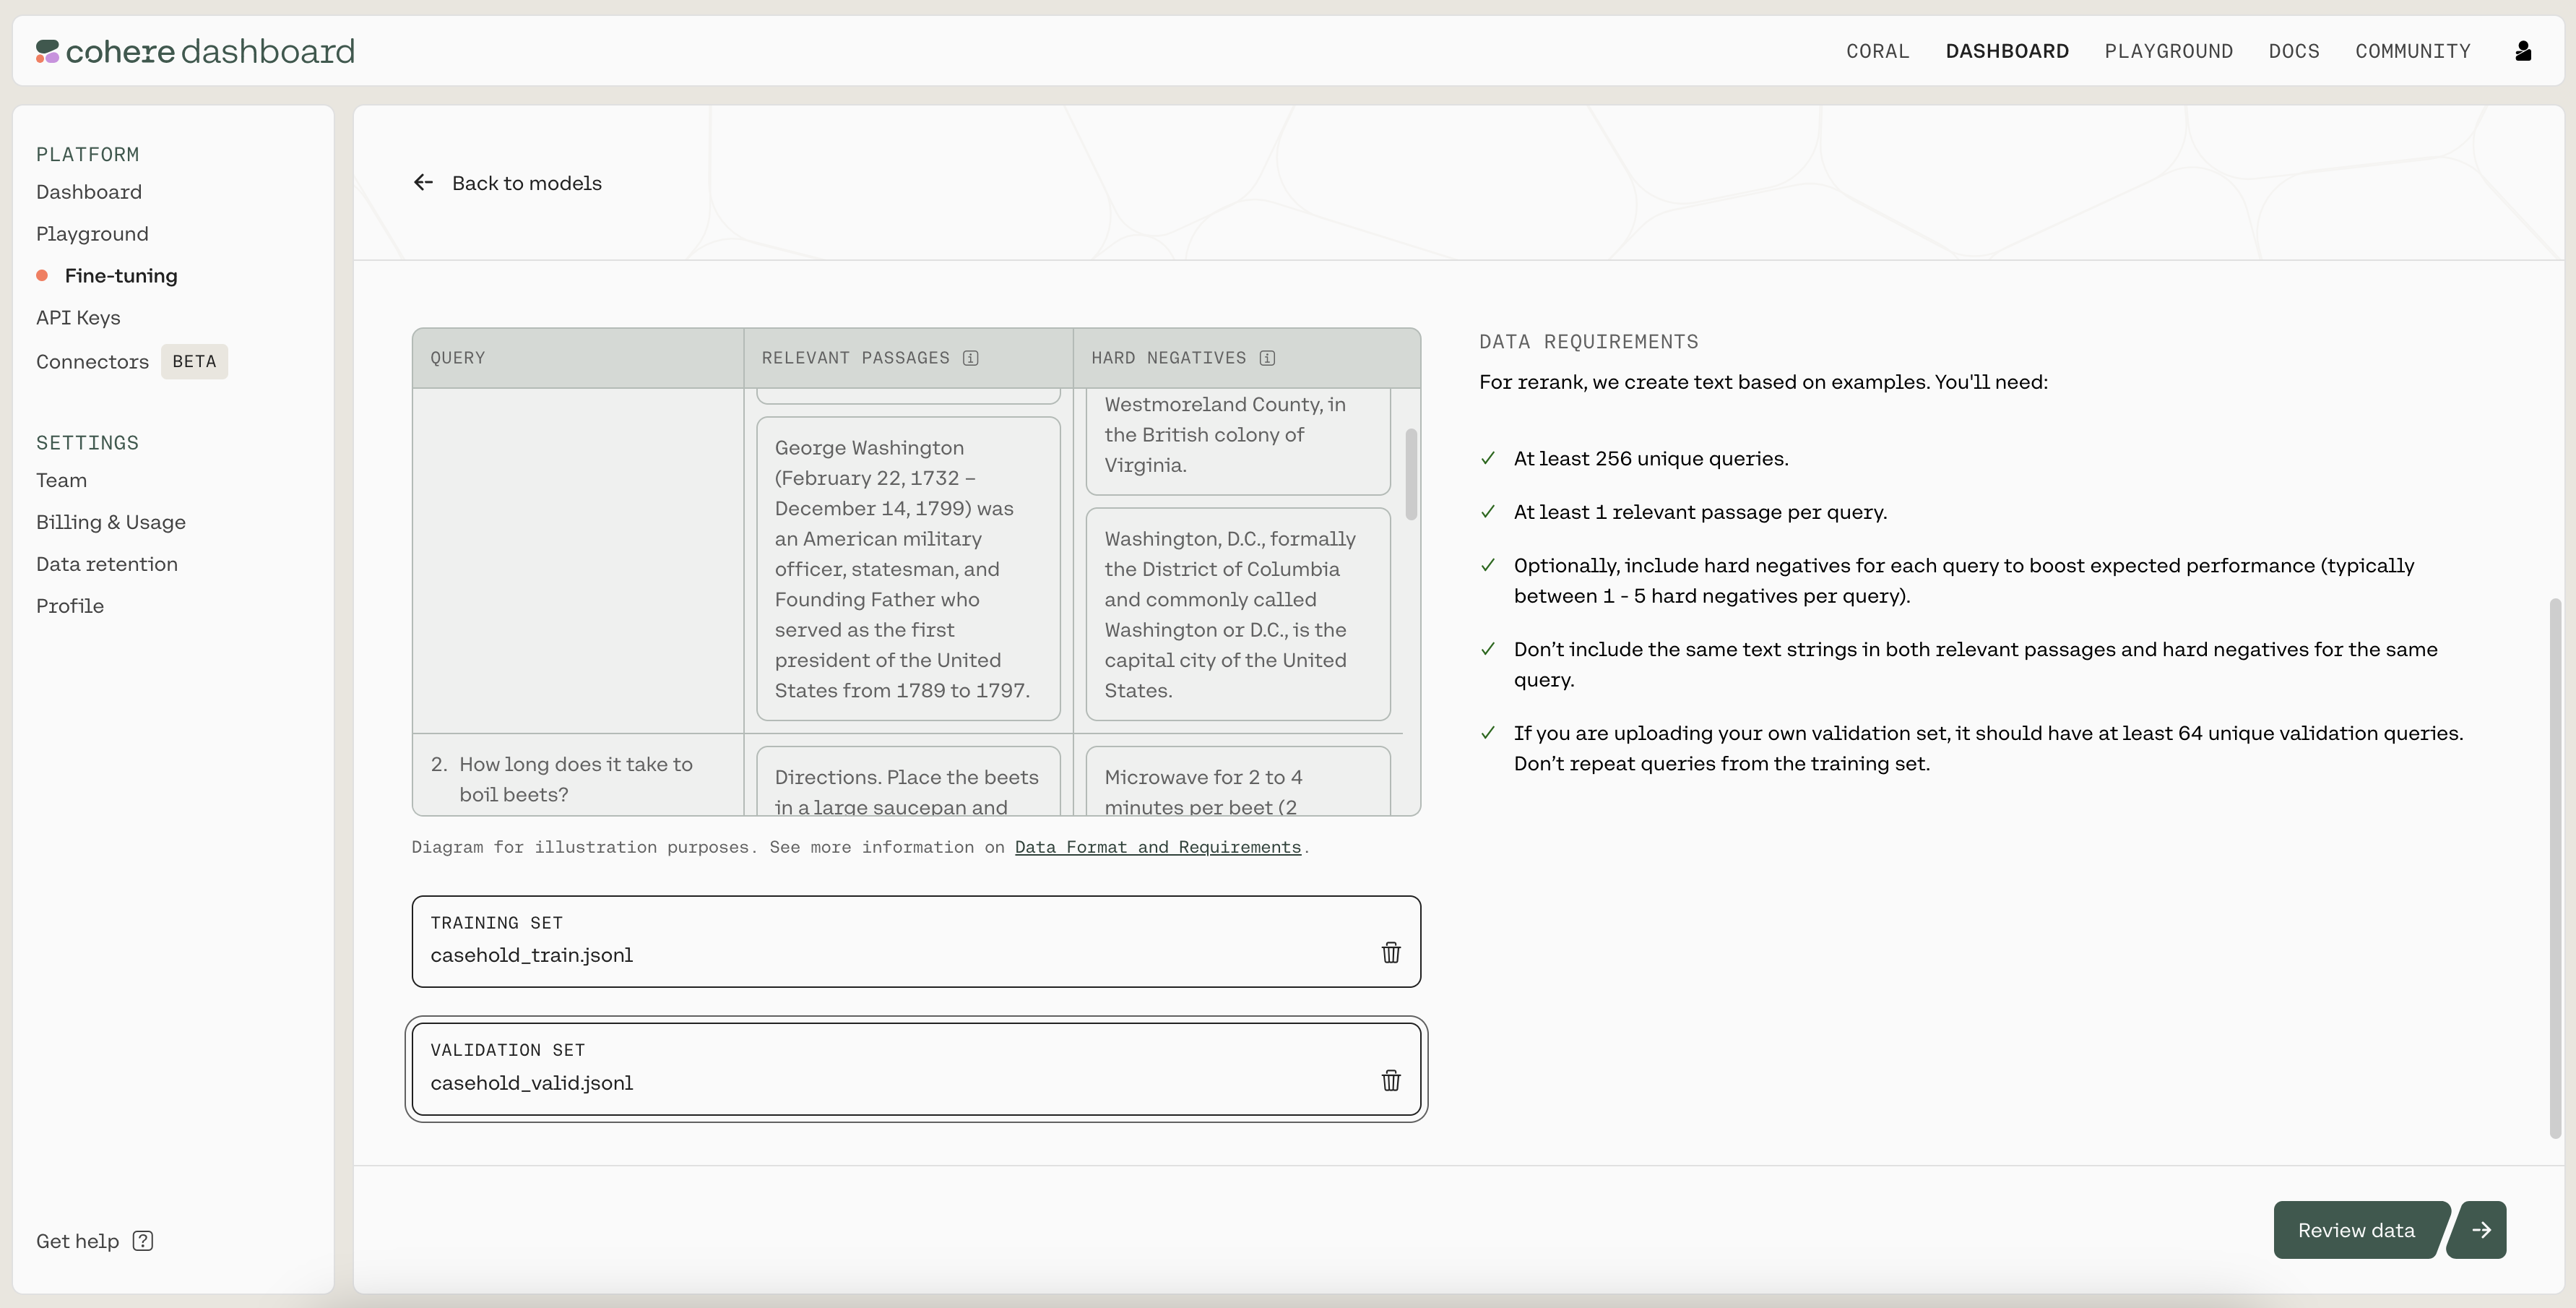
Next, upload the .jsonl files you just created as the training and validation sets by clicking on the “TRAINING SET” and “VALIDATION SET” buttons. When ready, click on “Review data” to proceed to the next step.
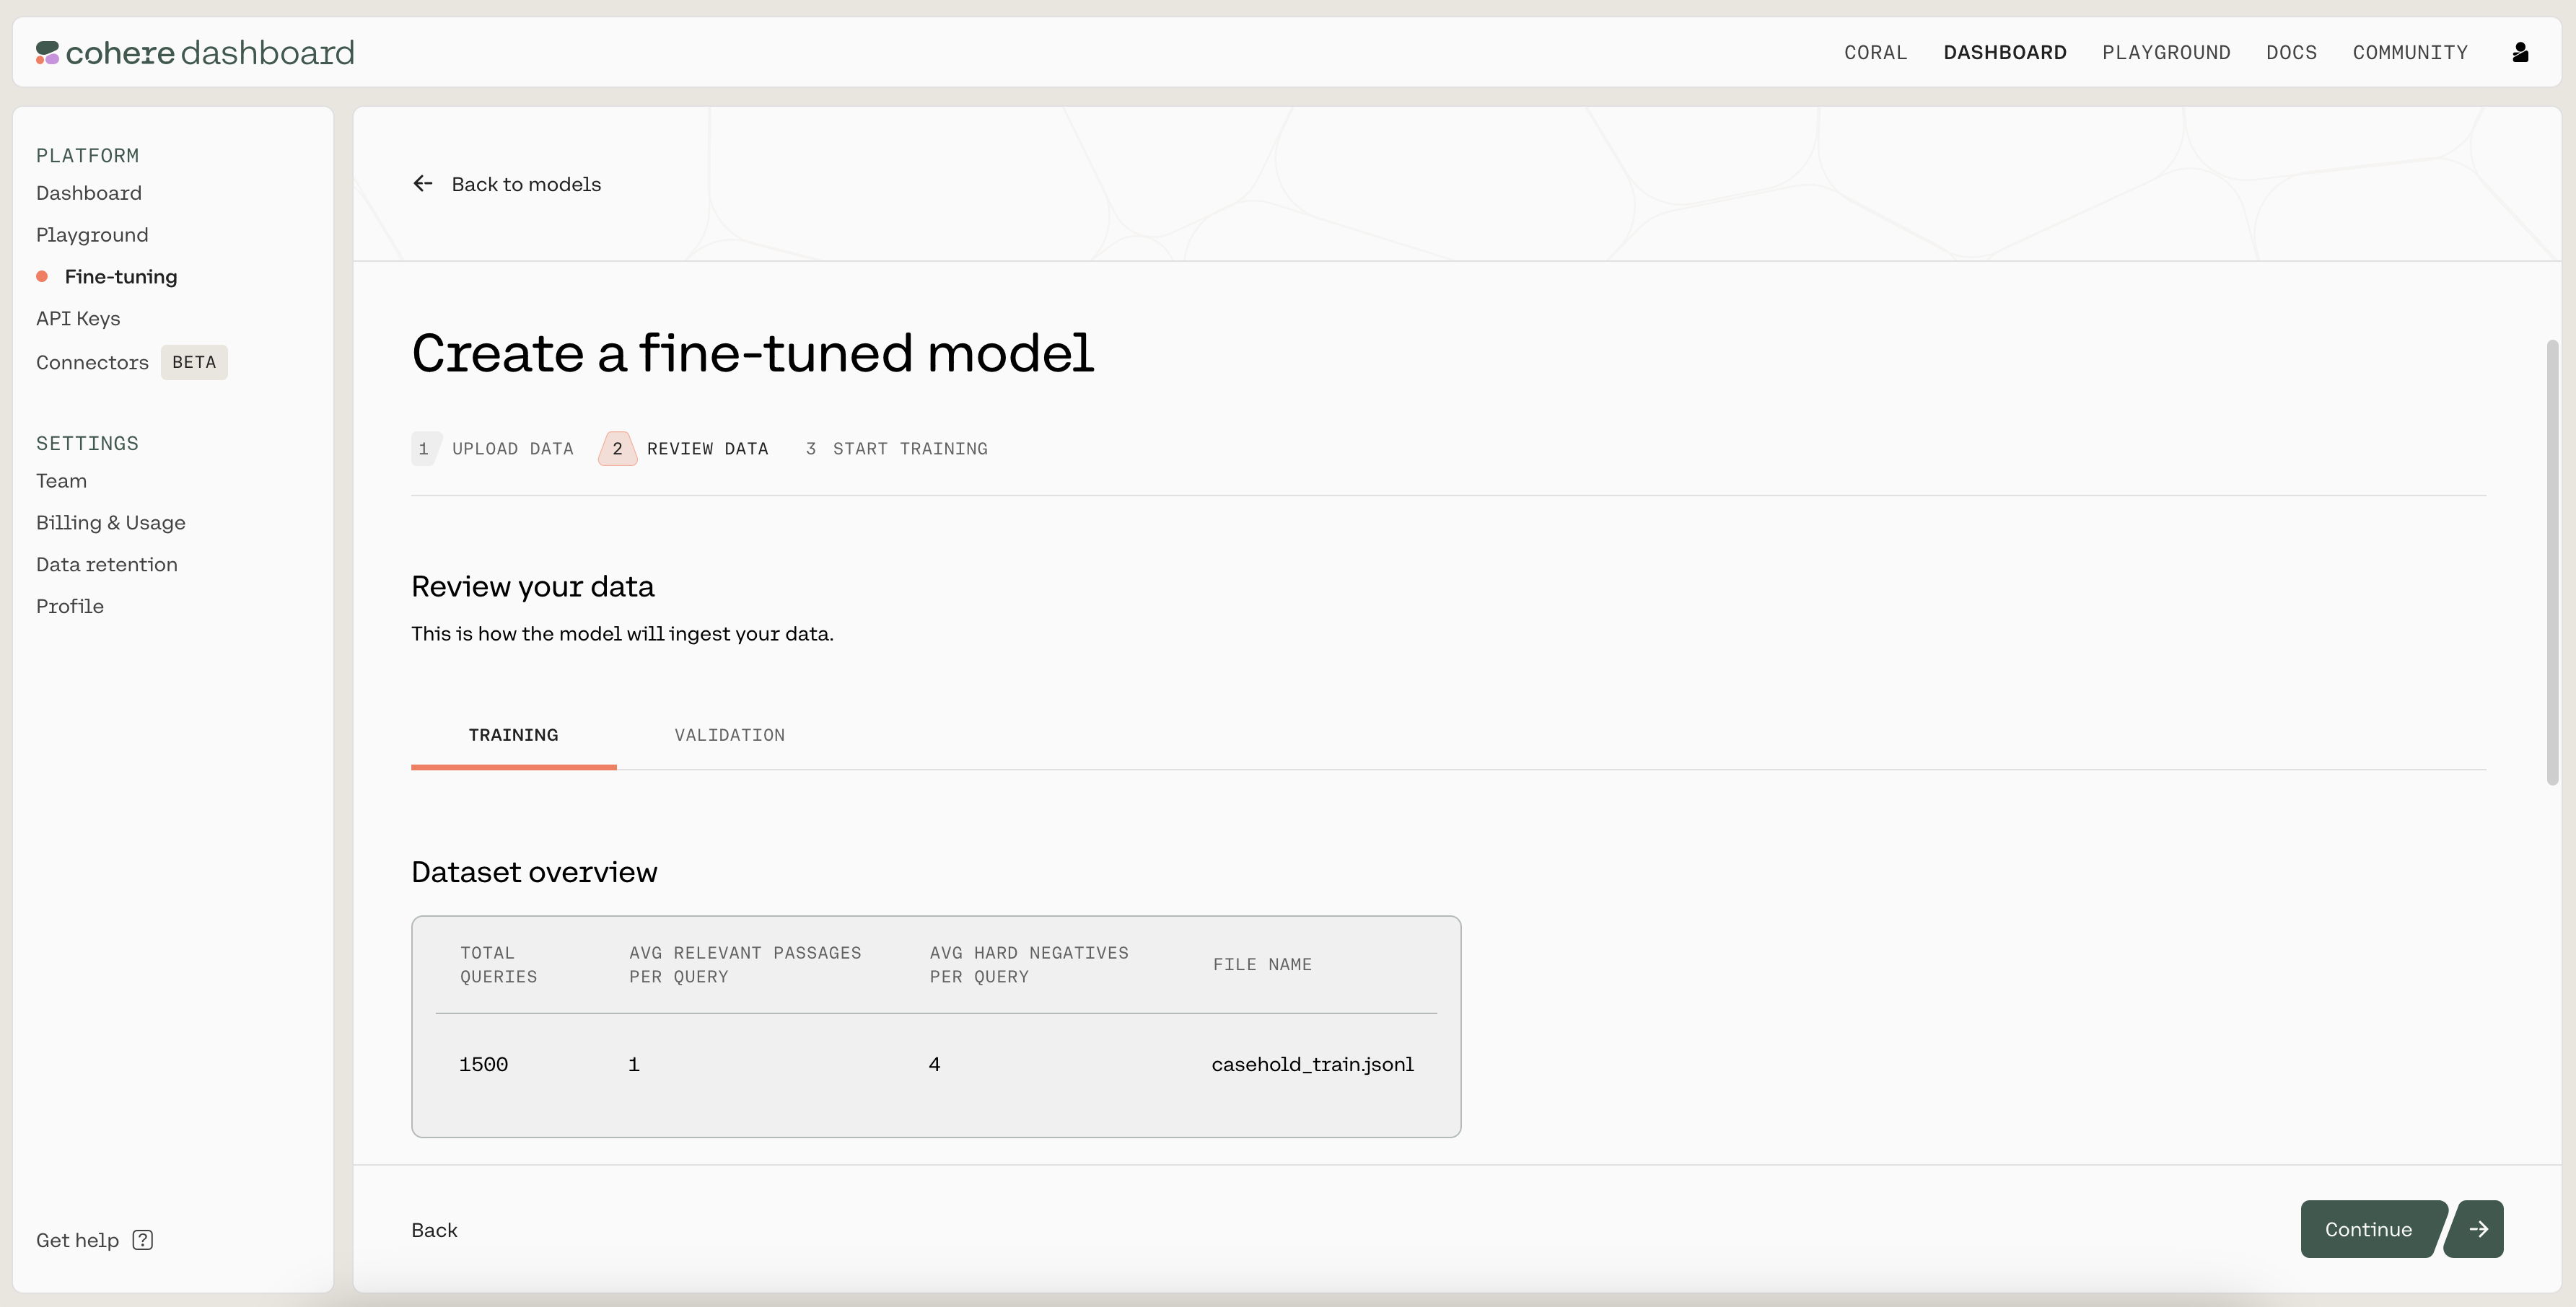
Then, you’ll see a preview of how the model will ingest your data. If anything is wrong with the data, the page will also provide suggested changes to fix the training file. Otherwise, if everything looks good, you can proceed to the next step.
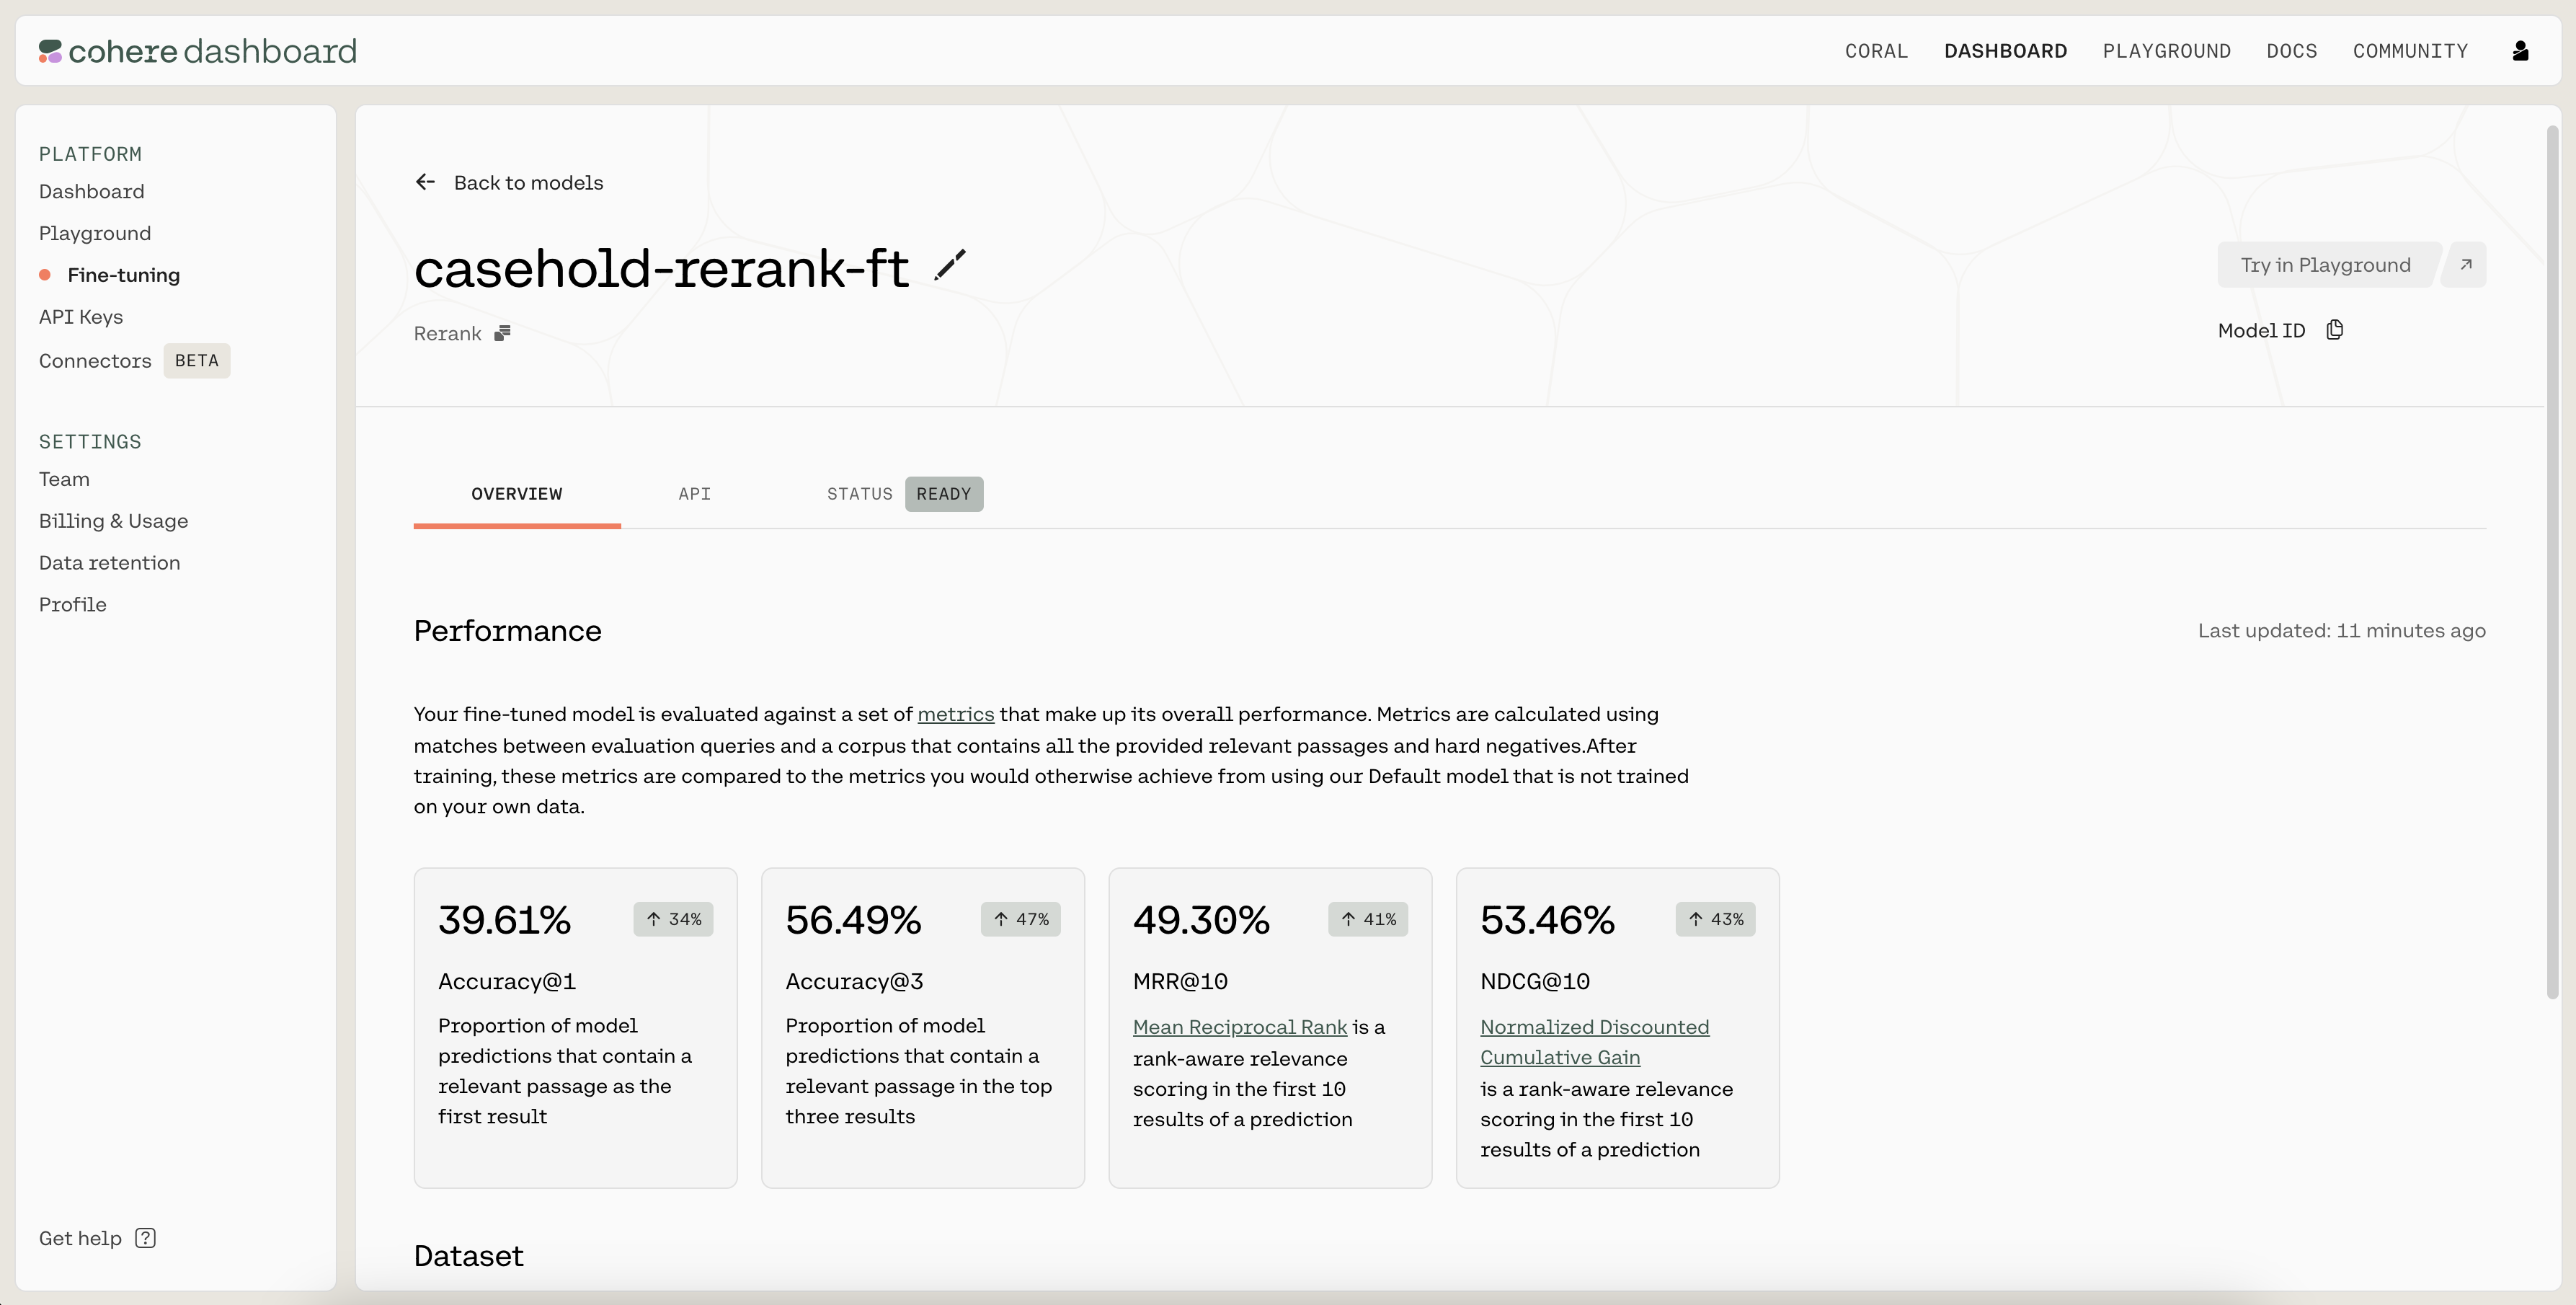
Finally, you’ll provide a nickname for your model. We used casehold-rerank-ft as the nickname for our model. This page also allows you to provide custom values for the hyperparameters used during training, but we’ll keep them at the default values for now.

Once you have filled in a name, click on “Start training” to kick off the fine-tuning process. This will navigate you to a page where you can monitor the status of the model. A model that has finished fine-tuning will show the status as READY.
Step 4: Evaluate the Fine-Tuned Model
Once the model has completed the fine-tuning process, it’s time to evaluate its performance.
Navigate to the API tab of the fine-tuned model. There, you’ll see the model ID that you should use when calling co.rerank().
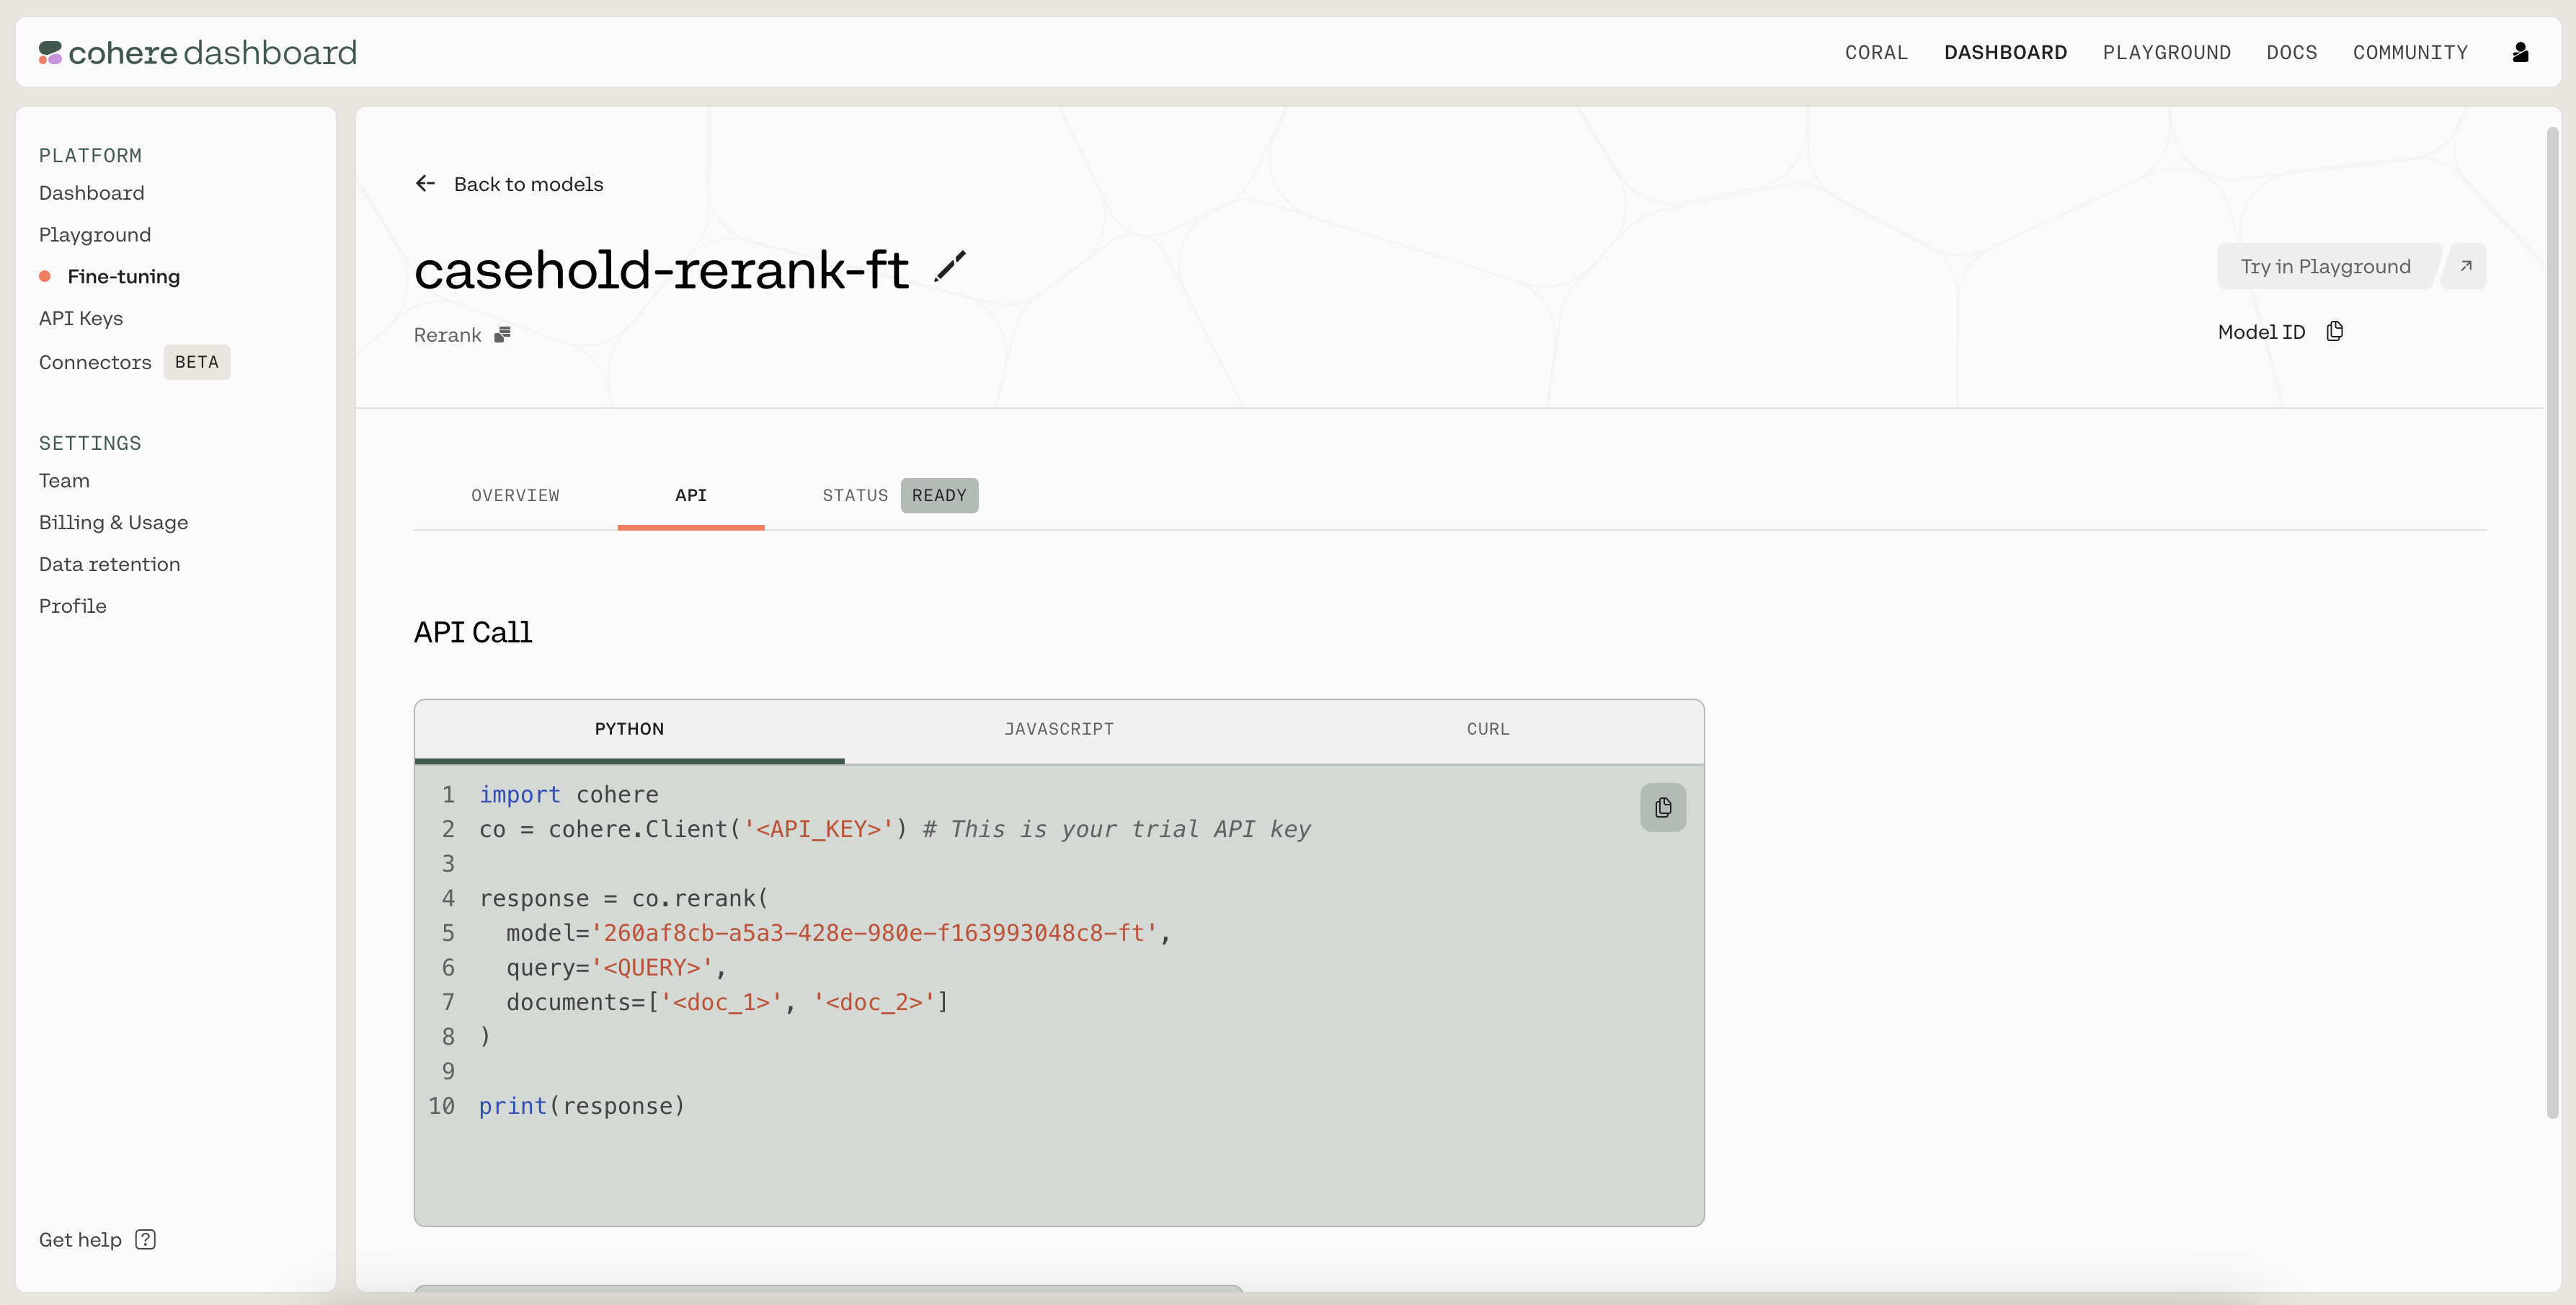
In the following code, we calculate the test accuracy of the fine-tuned model. We use the same get_prediction() function as before, but now just need to pass in the fine-tuned model ID.
The fine-tuned model has test accuracy 80%, which is a meaningful improvement over the pre-trained model’s accuracy of 60%.
Conclusion
In this chapter, you learned how to fine-tune a model for the Rerank endpoint on a custom dataset in the legal domain. As described in the documentation, you learned how to prepare the fine-tuning data, start a fine-tuning job, and understand the results.
For simplicity, we’ve worked with just a small example here. You’re encouraged to use the process detailed here to fine-tune the Rerank endpoint on a larger dataset.